If you build enough family trees, you start to notice patterns that don’t show up in history textbooks. Clusters of deaths. Children gone within days or weeks of each other. Young adults who disappear from the records in the same winter. Entire branches that simply… stop.
Before vaccines, epidemics were not rare events. They were a recurring feature of American life. And their story is written, quietly and relentlessly, in our family trees.
Genealogists see this world all the time. We see it in death certificates. In burial registers. In families where three or four children never reach adulthood. We see it in causes of death that barely register emotionally anymore because they’ve become abstract words: influenza, pneumonia, tuberculosis, diphtheria, measles, scarlet fever, small pox.
But these were not abstractions. They were people. Families. Empty chairs at tables.
One of my first family members in America to die of a preventable disease today was my 4th great grandfather’s John Morrison’s first wife and child, Isobel Fraser Morrison and their son, Alexander. Philiadelphia experienced a yellow fever epidemic and the dead were recorded in a book written the following year. John would go on to marry Elenor Jackson Robinson, a widow of another victim, James Robinson.

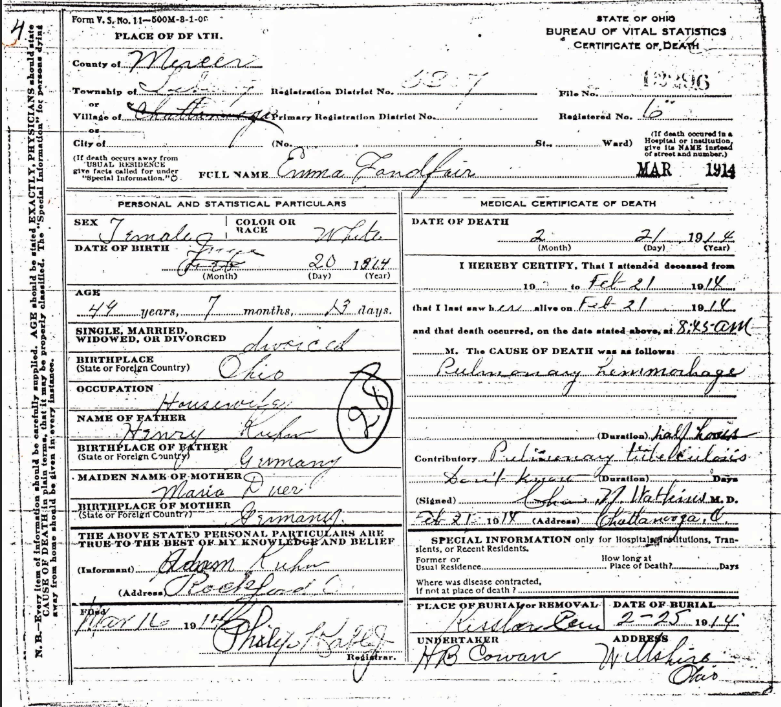
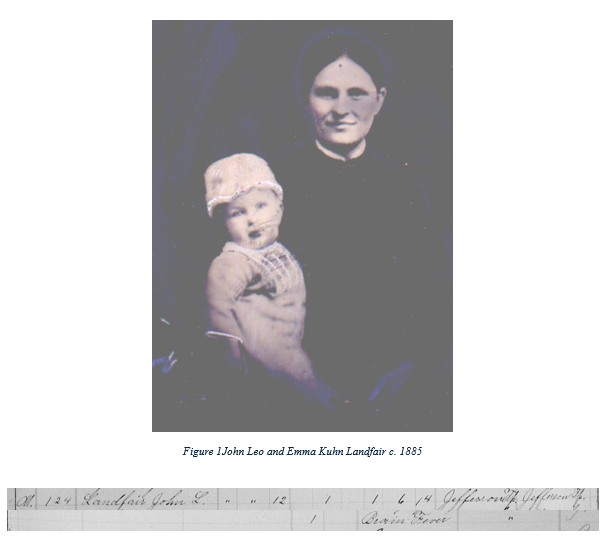
One of my great grandmothers was Emma Kuhn Landfair. Her death certificate lists tuberculosis. That alone would have been enough. But the story doesn’t end there. Like so many women of her time, Emma lived in circumstances that made both illness and survival harder than they should have been. Tuberculosis was the disease that took her, but it did not act alone. The record tells us the official cause. The context tells us the rest.
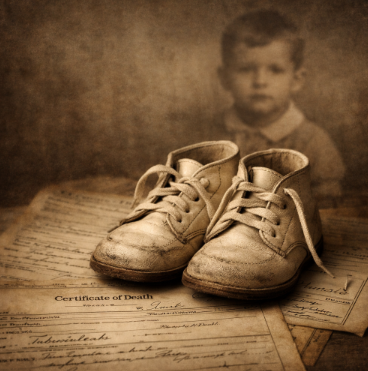
Emma lost two children to disease that could have been prevented today with vaccines. Her oldest son, John Leo Landfair died at age 1 of “brain fever,” likely encephalitis or meningitis.
In 1985, the infant son of a former colleague and dear friend contracted meningitis. He survived, but it changed the course of his life, leaving him with permanent disabilities. Thankfully, there is a vaccine for that today.
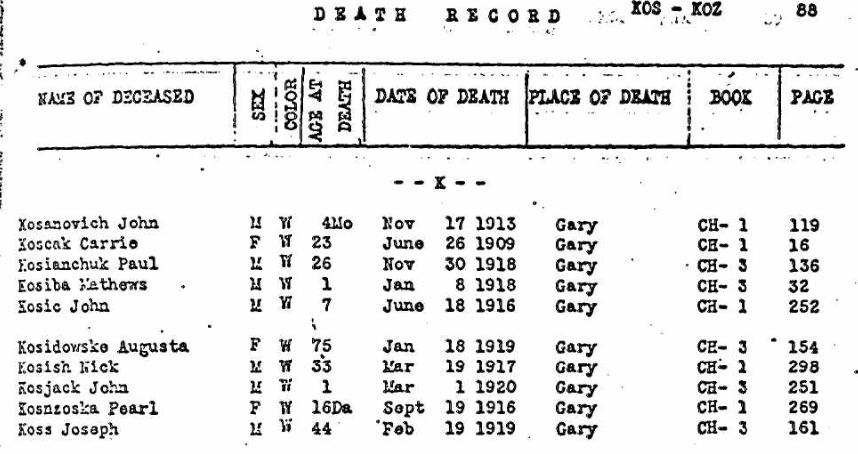
Another family member is Joseph Kos Sr., who died during the great influenza epidemic of 1918–1919. That pandemic is now a paragraph in history books. In real families, it was a before-and-after moment. It erased parents. It left children without fathers and mothers. It rewrote futures in a single season.
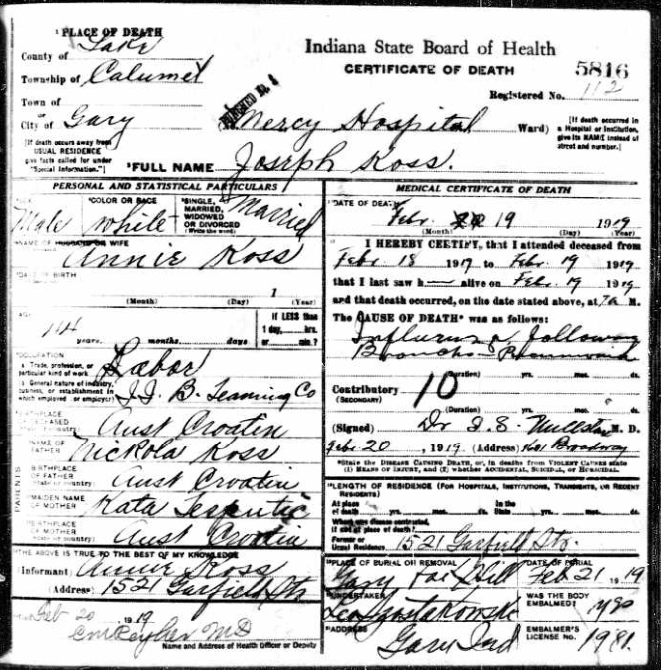
A few weeks ago I had community member tell me that she would not get the flu vaccine because she had survived having the flu in the past. Joseph Koss didn’t have an option as no vaccine was available for him. He was just 41 years old when he died.
These are not statistics. These are my people.
And they are not unusual.
Every genealogist who looks closely enough at their own tree will find similar stories.
But the past is not only in our documents. Some of it still lives in memory.
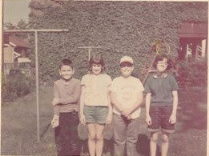
When I was in third grade, a classmate of mine died of meningitis. I still remember him. I still remember the call my mom got from our class’s PTA rep who asked my mom to come to school, which had been cancelled, to clean the room. They burned everything in our classroom in the school’s incinerator, hoping to end the spread of the disease. We didn’t return to class for a week and when we did, all remindings of Michael were gone. But I didn’t forget, I still have his photo.

Two neighborhood friends, Ray and Carol, survived rubella, but not without permanent consequences. They lived, but they lived changed. I also almost died of rubella myself.
And there was a girl I knew who spent her days in an iron lung due to polio. Many people today have never seen one. I have not forgotten.
These things are not ancient history. They are not medieval. They are not myths.
They are the world as it was within living memory.
And here is the part that is easy to miss: many of the causes of death that appear again and again in our family trees simply stop appearing once vaccines become widespread. Not because people suddenly became braver. Or healthier. Or morally better.
But because we changed the environment in which these diseases could kill.
When prevention works well, something strange happens: people forget what it was preventing.
We forget child cemeteries.
We forget iron lungs.
We forget winters when families lost two or three children in a single season.
Genealogists are among the few people who still routinely encounter the pre-vaccine world, because we read its paperwork.
This conflict is not new in America, either.
Benjamin Franklin lost a young son to smallpox. He had wanted the boy inoculated. His wife had refused. Franklin later wrote of his regret with extraordinary bitterness. Even in the eighteenth century, Americans were already living this argument. And already paying its price.
This is not a story about politics.
It is a story about memory.
It is about whether we remember what kind of world our ancestors actually lived in or whether we let that world fade into comfortable abstraction.
As we approach America’s 250th anniversary, it’s worth asking what kind of nation we want to remember ourselves as. A nation is not only its ideals and its founding documents. It is also how many children lived to grow up. How many parents made it home. How many families were spared grief.
Our family trees are not just records of who belonged to us.
They are records of who was taken.
The dead cannot tell us what they would have chosen. But they can tell us what it cost when there was no protection.
And they do, quietly, patiently, on every page of our family history.